- HAL (Hyperion Application Link) - You can use it to maintain metadata in version 9 or lower
- DIM (Data Integration Management) - Informatica provides the Hyperion Planning adapter
- ODI (Oracle Data Integrator) - Will gradually replace DIM in the latest versions
- EPMA (Enterprise Performance Management Architect) - Maintain the EPMA master library and then deploy to Hyperion Planning
- Outline Load Utility (Command Line) - Load metadata with Planning utility after version 11
- Outline Load Utility (Planning UI) - Allows metadata to be imported or exported from the web interface after version 11.1.2.3
- Access to Planning Metadata in Smart View - Allows metadata to be maintained in Smart View after Planning Admin Extension installed in version 11.1.2.3
When you use Outline Load Utility command line to load the metadata (Method 5), you will find the parameters are so many and the operating is not very convenient. For example,
C:\EPM_ORACLE_INSTANCE\Planning\planning1>OutlineLoad /A:test /U:admin /M /N /I:c:\outline1_ent.csv /D:Entity /L:c:/outlineLoad.log /X:c:/outlineLoad.exc
Thus, I usually create another "my own" outline load utility in the planning implementation projects with windows shell scripts, or the linux one.
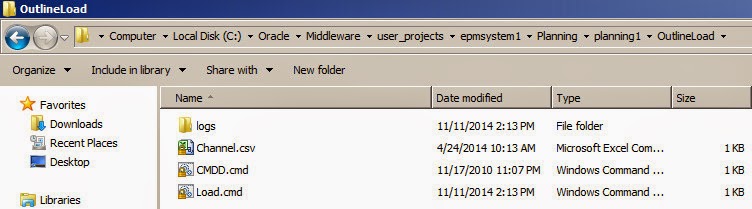
First, remote to the Planning application server and then locate to the Outline Load Utility folder. (Or some other path that you want to store the new utility file) Create a folder called "OutlineLoad". We will use "OutlineLoad.cmd" and "PasswordEncryption.cmd" in the later.

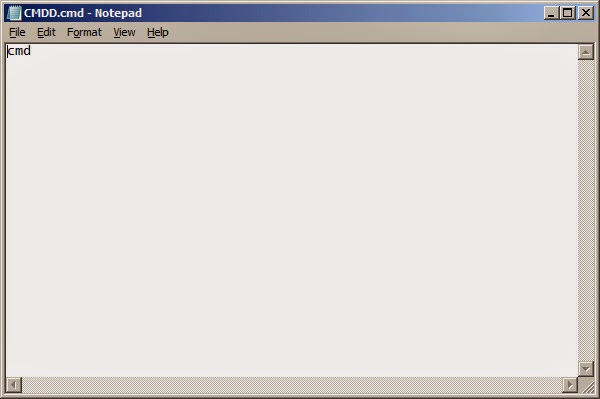
Create a folder called "logs" under the folder "OutlineLoad" and create two command files called "CMDD.cmd" and "Load.cmd".
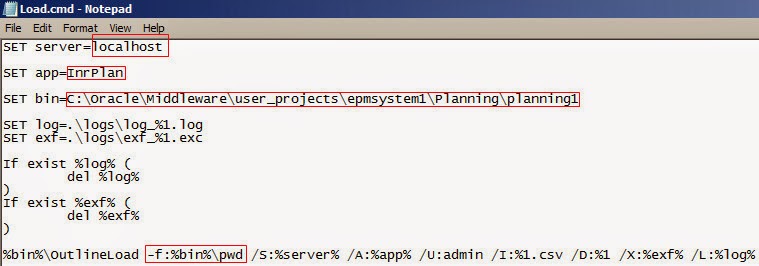
Edit the "Load.cmd" in Notepad, update the server, application name, "OutlineLoad.cmd" utility path. If you want to skip the password prompt, you need to use [-f:passwordFile] option as the first parameter in the command line. Next step will introduce how to generate the encrypt password file.
Open a command line window, locate to the PasswordEncrypt.cmd utility path. Input the command "PasswordEncryption.cmd passwordFile" as below.
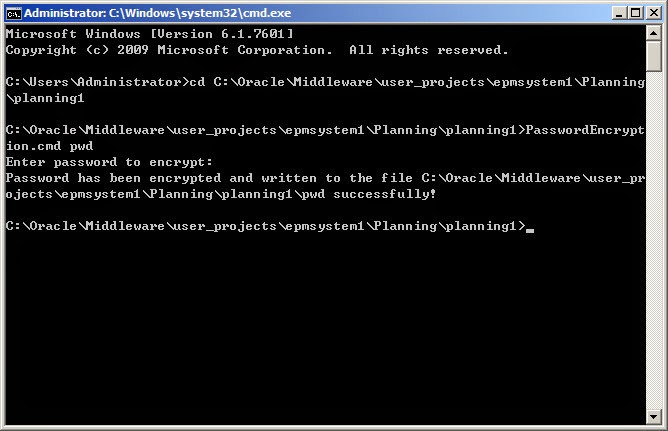
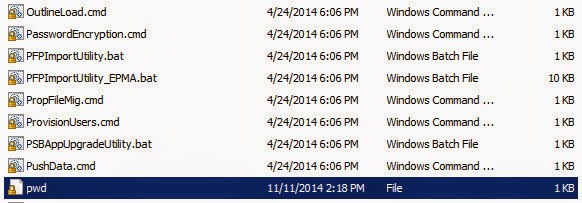
Then you can find the encrypt password file was generated successfully.
Edit the "CMDD.cmd" file in the OutlineLoad folder as below, it can help you to locate to the "Load.cmd" command folder easily.
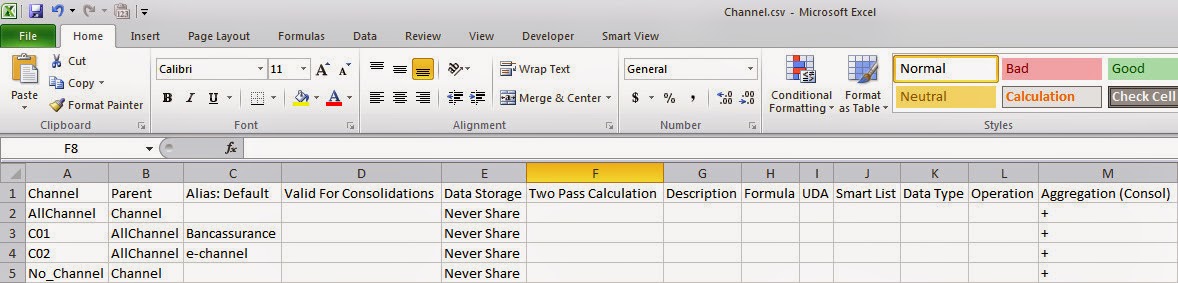
And then prepare the csv file for the dimension that you want to load, remember the file name should be the same as the dimension name with "csv" as the extension.
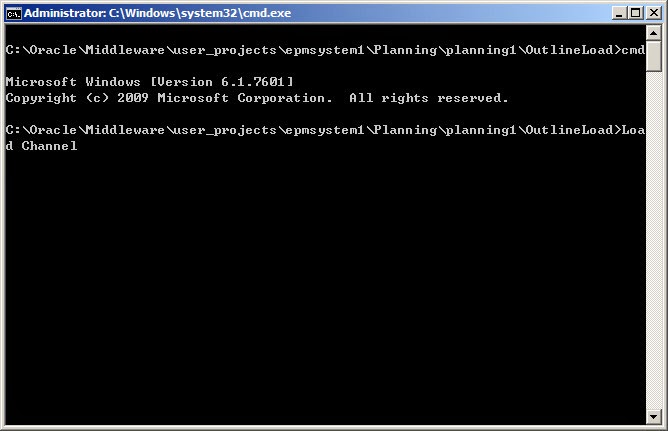
Double click the "CMDD.cmd" command to open a command line window, the path can be located to the custom "OutlineLoad" folder automatically. Then run the command "Load [Dimension Name]". This command will update the application specified in the "Load.cmd" file, the to be updated dimension is a parameter which we send to the "Load.cmd" command (Channel in this example) and the loaded file's name is the same as the parameter with csv as its extension.
The metadata is loaded successfully.
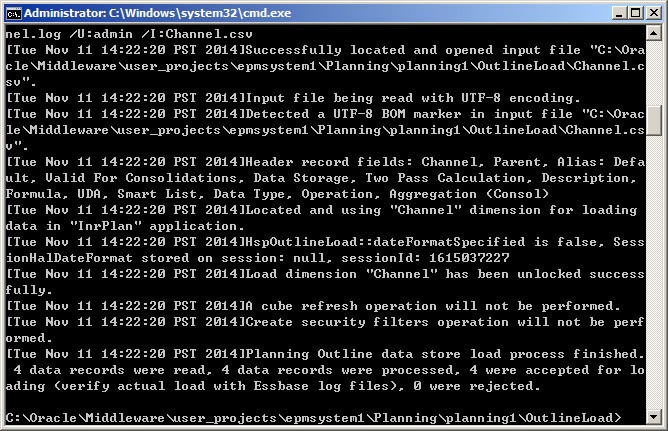
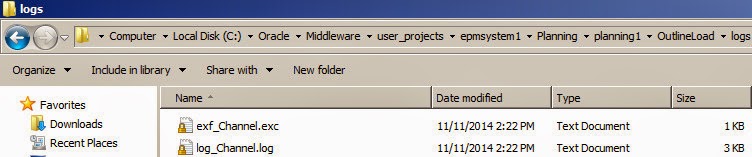
You can find the log and exception files in the "logs" folder.
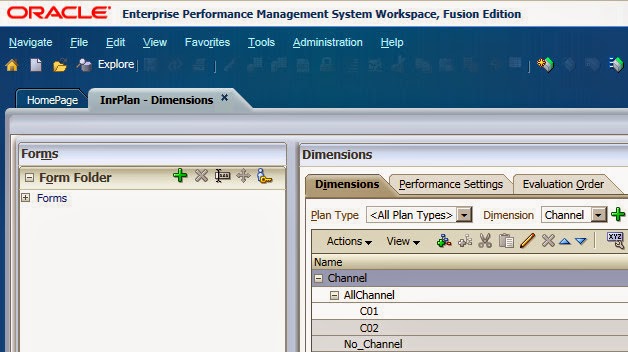
Open Planning Application and you can find the metadata is updated successfully.
If you want to delete members with the "Load.cmd" file, just update the "Operation" column in the csv file. Examples are as below.
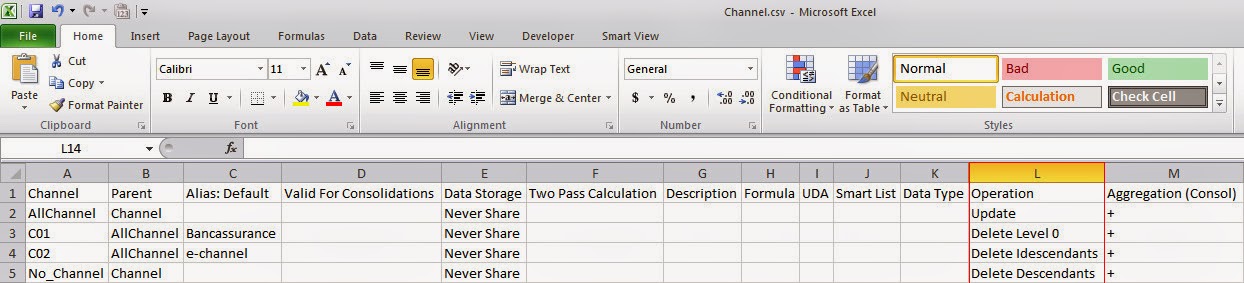
The Operation port takes any of the following values, the default value of this column is "Update".
- Update – Adds, updates, or moves the member being loaded
- Delete Level 0 – Deletes the member being loaded if it has no children
- Delete Idescendants – Deletes the member being loaded and all of its descendants
- Delete Descendants – Deletes the descendants of the member being loaded, but does not delete the member itself
You can use the same method to custom your "Export.cmd" file, also will rapidly improve your efficiency in the update of the Metadata. But of course from version 11.1.2.3, you can do that from Planning web UI directly, which you don't need to remote to the Planning server and do the jobs above!
Excellent blog. Well articulated and very useful. Thank you.
ReplyDelete