But the concept of EPMA is quiet good, for the enterprise with multiple similar applications to be deployed in one environment so that all these applications (Hyperion Planning, Essbase, HFM and some others) can share one dimension library. You don't need to maintain several sets of metadata at the same time for the same parts of these applications, just maintain the shared library and then all the affected applications can be updated at the same time.
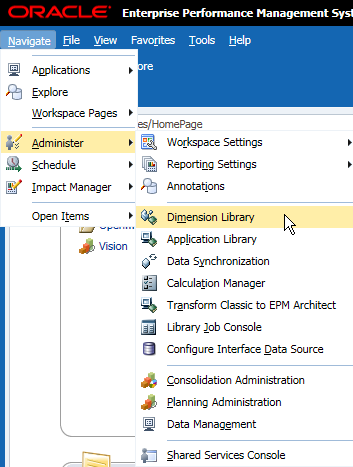
So I try to pick it up at the latest version. Login to Workspace > Administer > Dimension Library, where we can maintain the shared dimension library.
File > New > Dimension, to create a dimension in the shared library.

Input the dimension name and select the Type of the dimension.

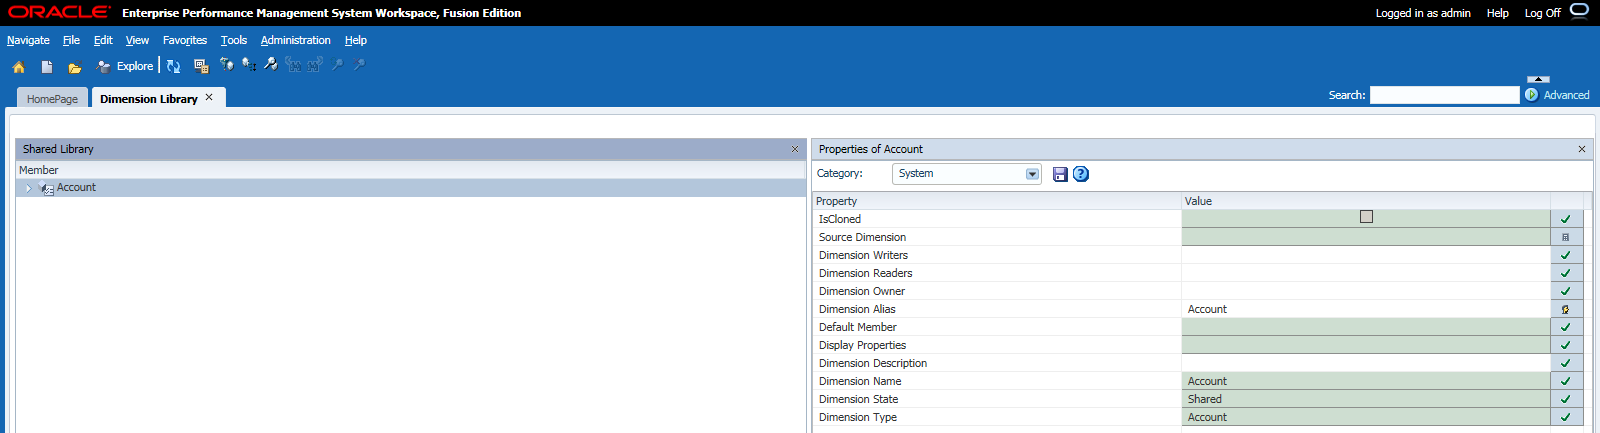
Then you can find the dimension was created in the shared library.
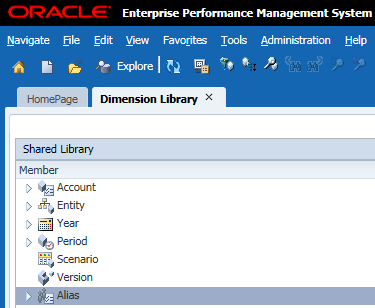
Repeat the steps above to create the mandatory system dimensions for Hyperion Planning. For a non multiple currencies application, they are Account, Entity, Year, Period, Scenario, Version and Alias.
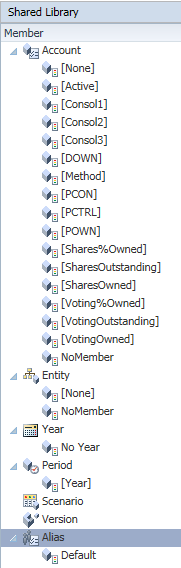
You can find some "system members" are created automatically for these dimensions, mostly are for HFM purpose.
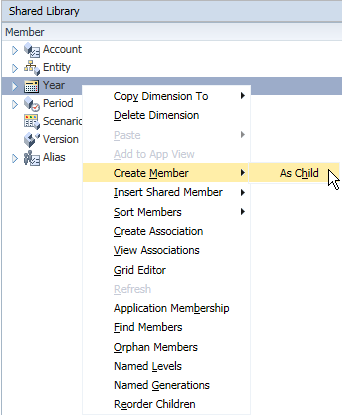
You can create your custom members in the created dimensions such as below, create member as child.
Input the member name and then press OK.
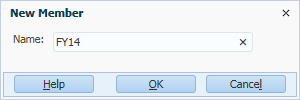
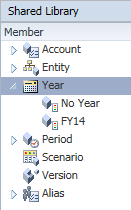
You can find the member was added successfully.
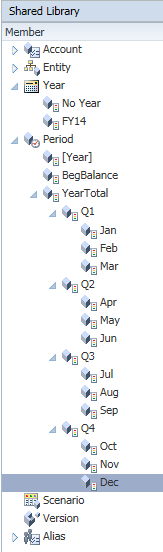
Create the following members for Period dimension, which is required by Hyperion Planning when you want to plan by months in this application.
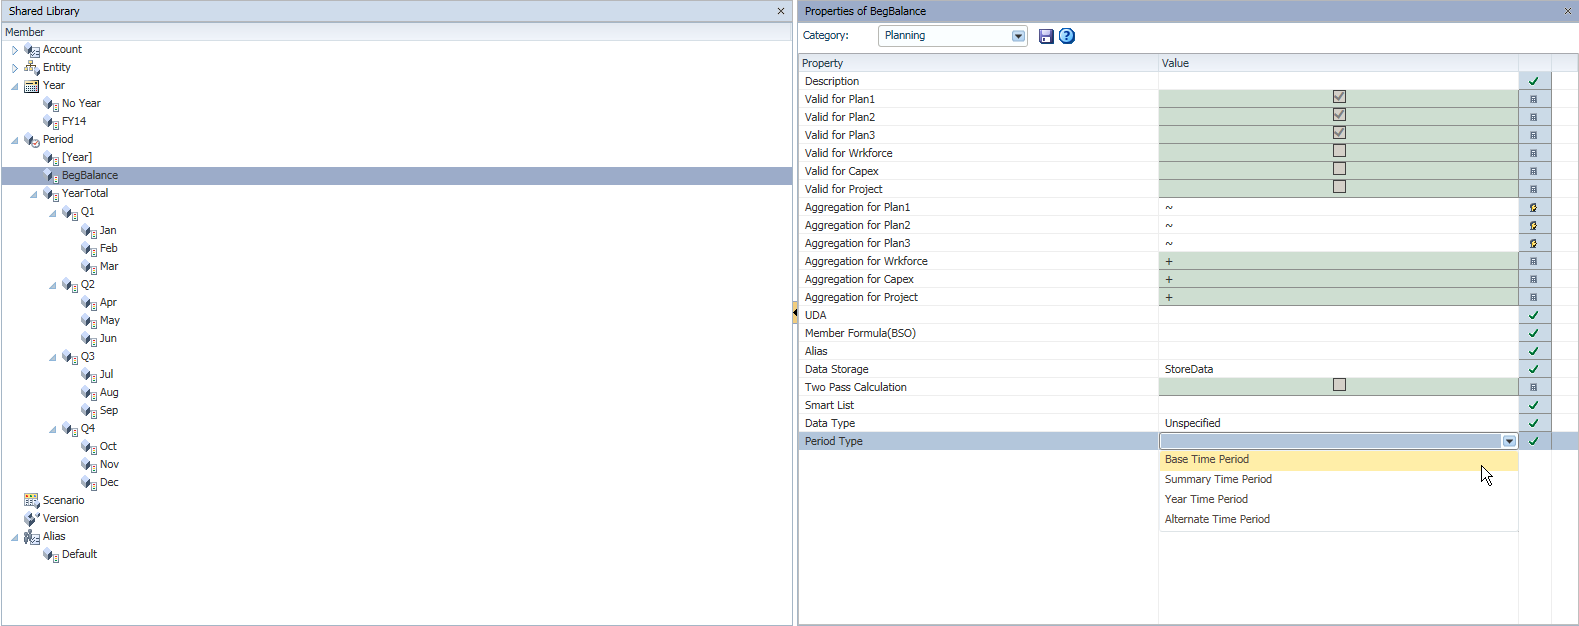
You can change the member property as below. Select the member you want to change, select the Category to Planning in the Properties window.

Then change the setting for this member.
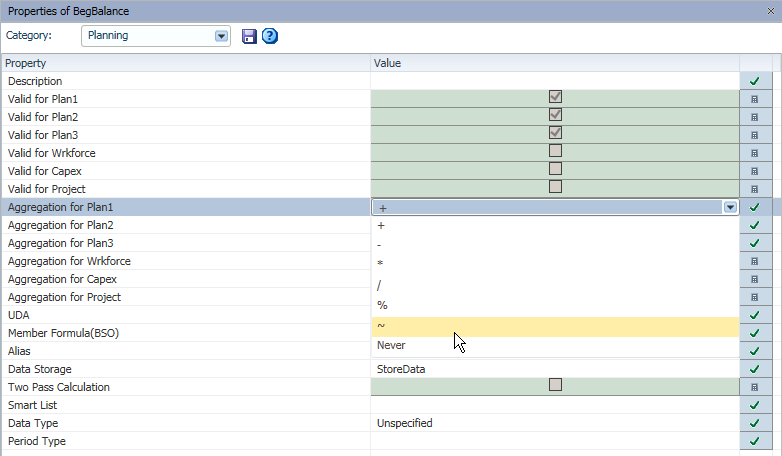
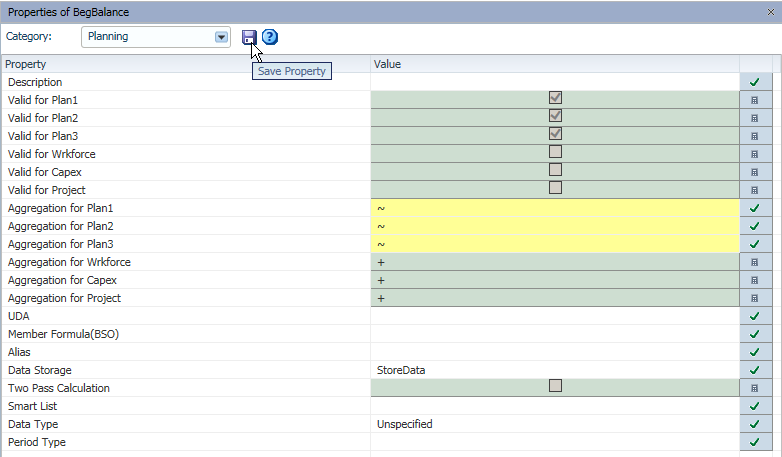
After all the settings are done, click Save to continue.
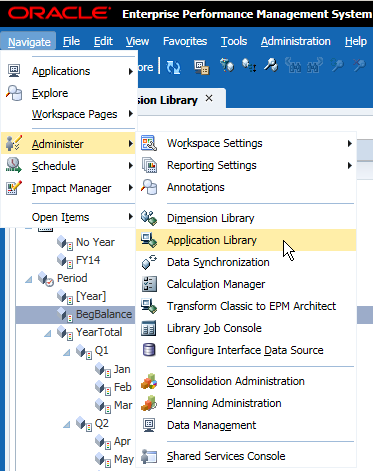
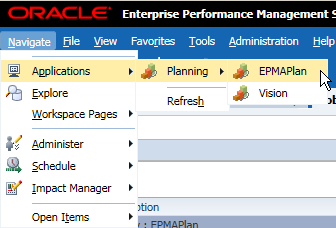
Then we can try to create application in EPMA, Administer > Application Library.
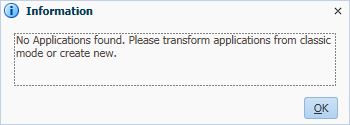
Information shows below if there is no application created before.
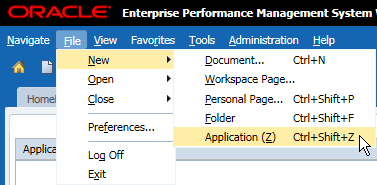
File > New > Application, to create a new application.
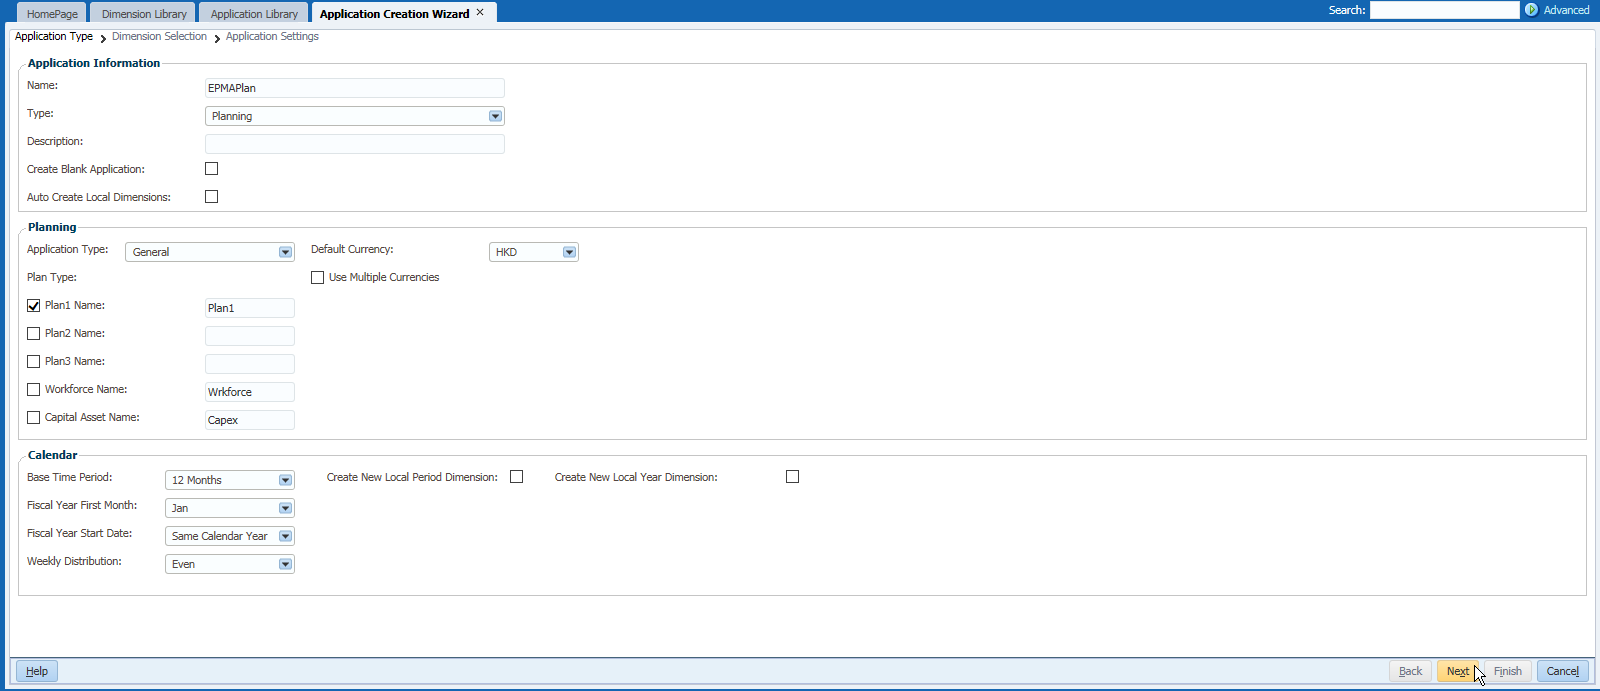
Input the name of application, select the type to Planning, and then after all the settings are done click Next.
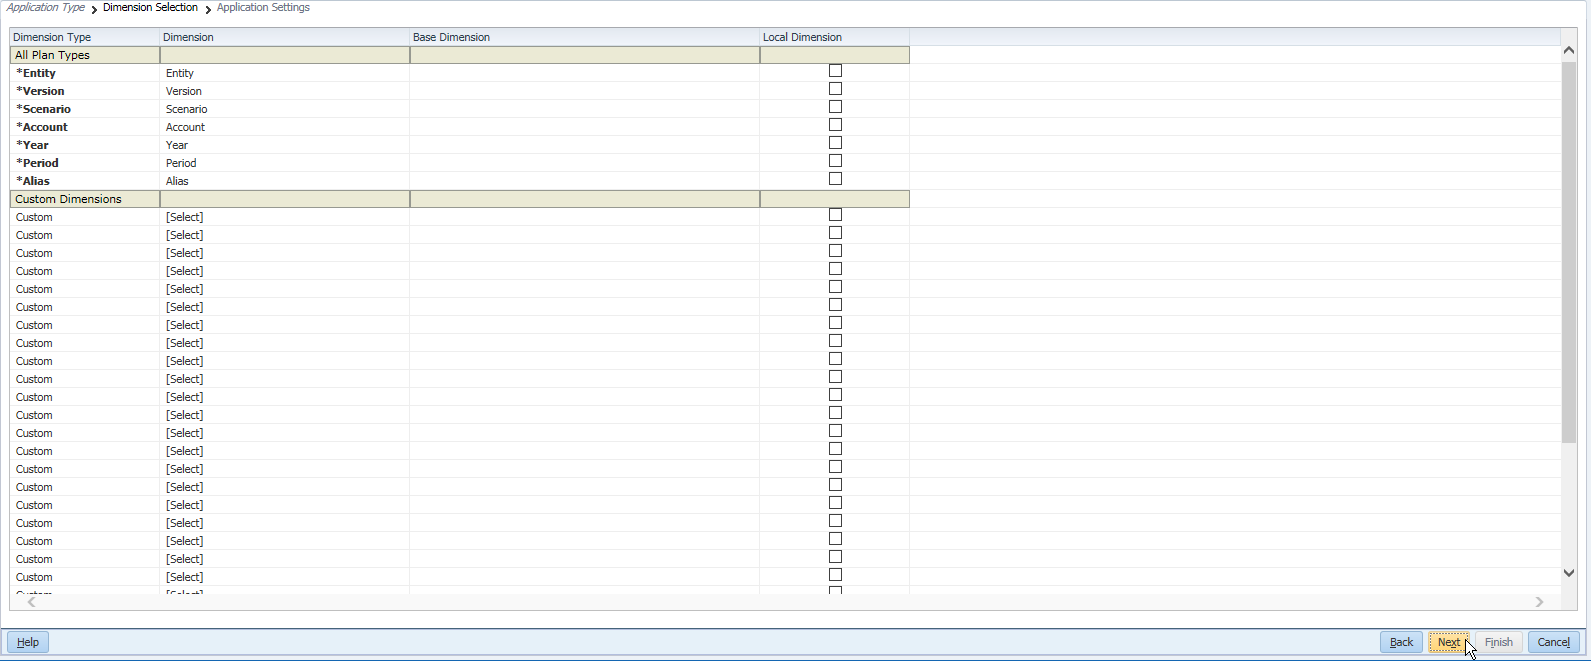
In this case we don't have custom dimensions so that we click Next to move on.
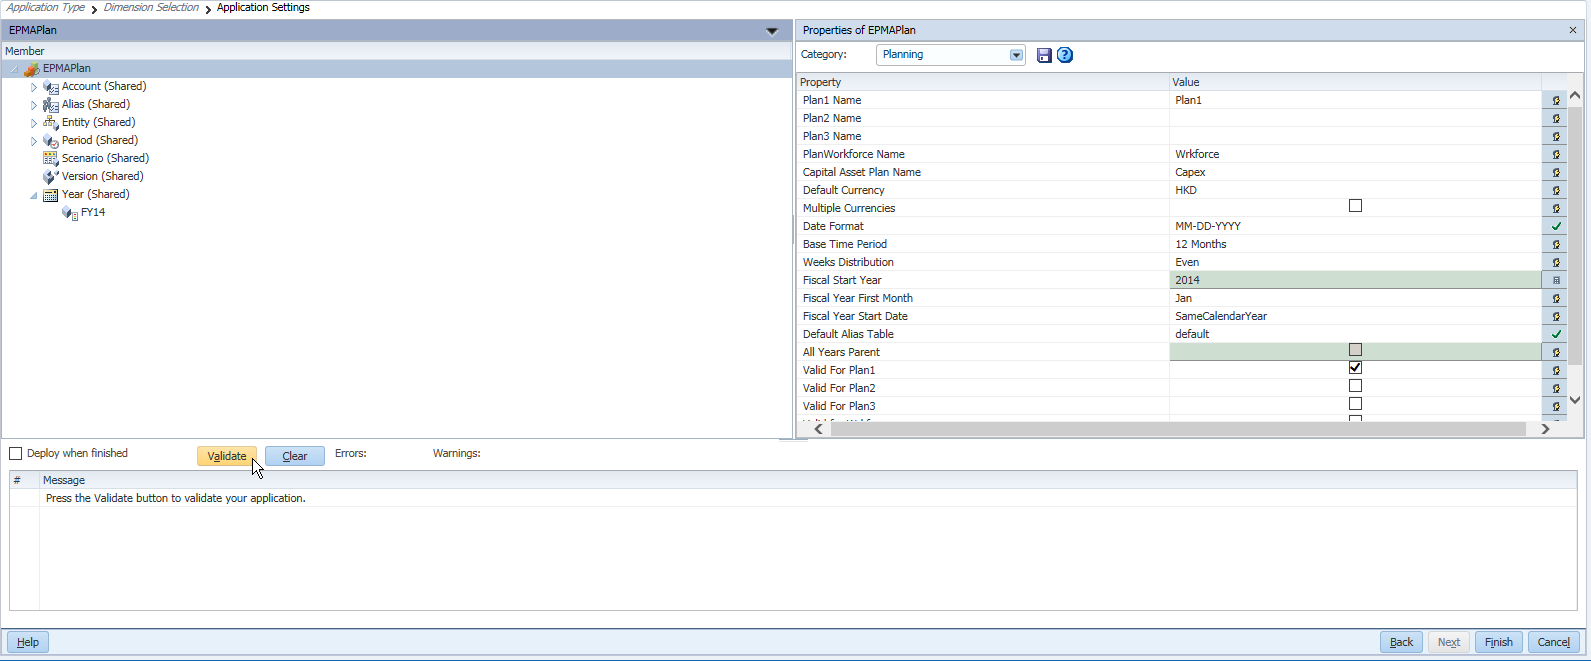
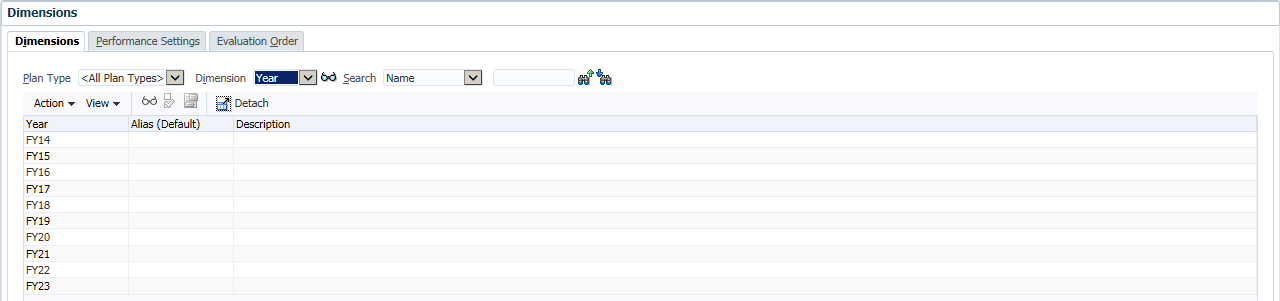
You can find the application settings as below. Expand the application to Year dimension, right click the No Year member and then exclude it. (For it can't be excluded once the application is deployed.)
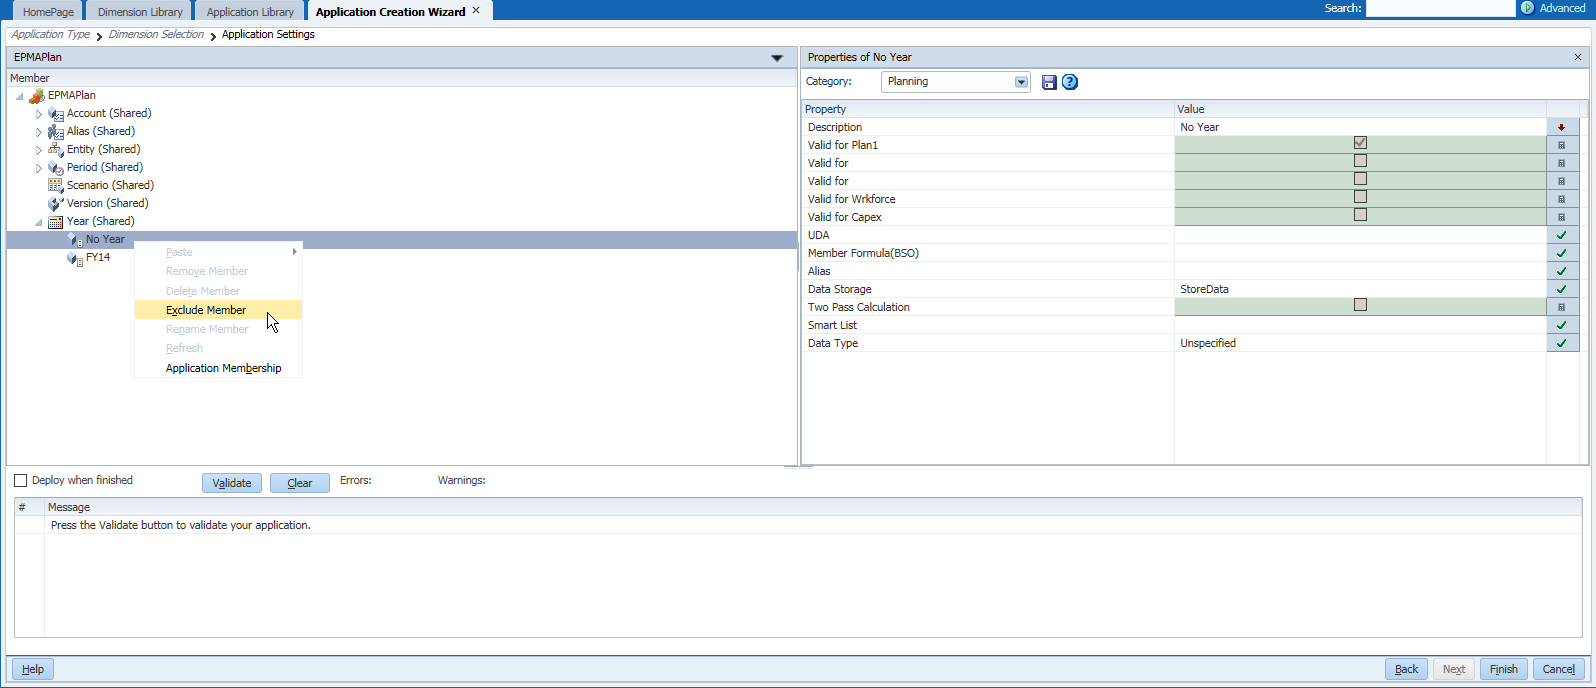.png)
Then you can try to click Validate to validate the settings.
The following messages will show out if some of the settings are wrong.
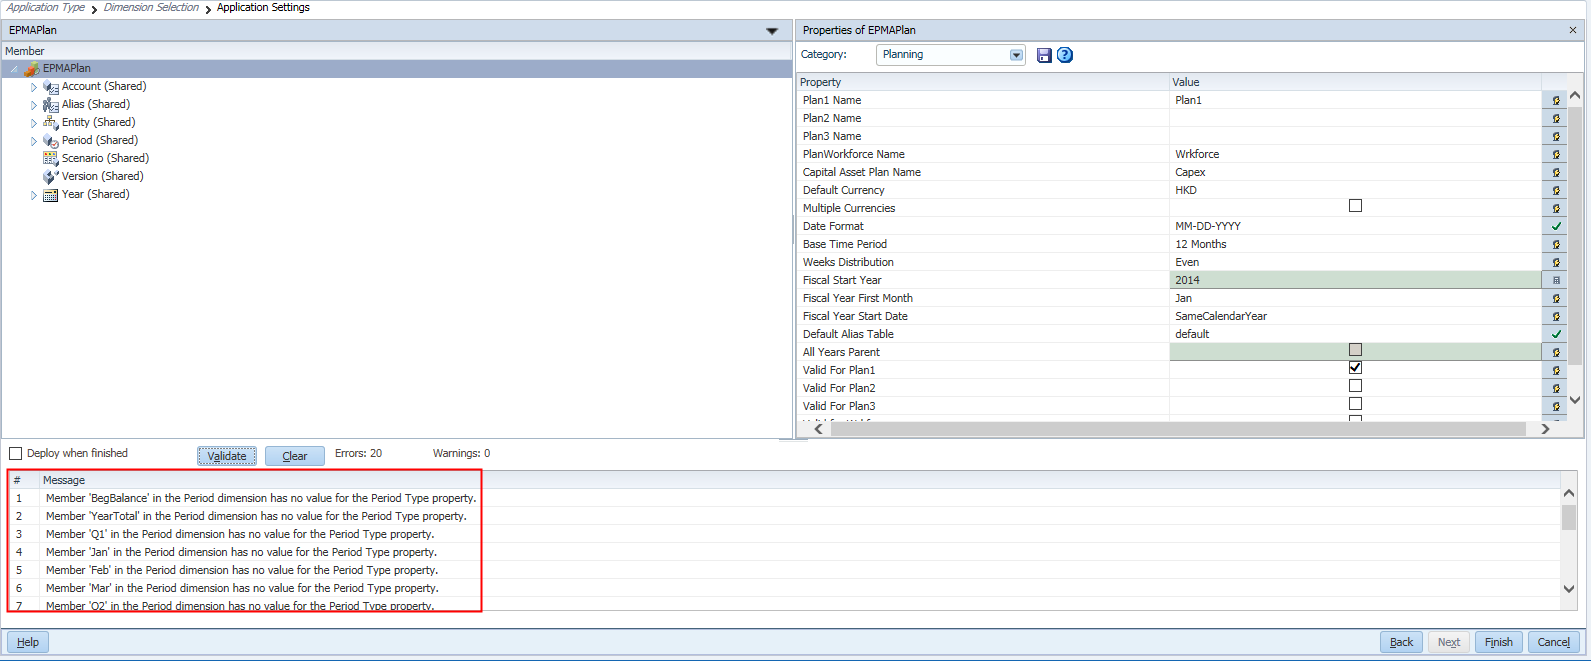
Return to the dimension library, change the period type for all the period dimension members. For the base members, set to Base Time Period; for the quarter members, set to Summary Time Period; for the YearTotal member, set to Year Time Period.
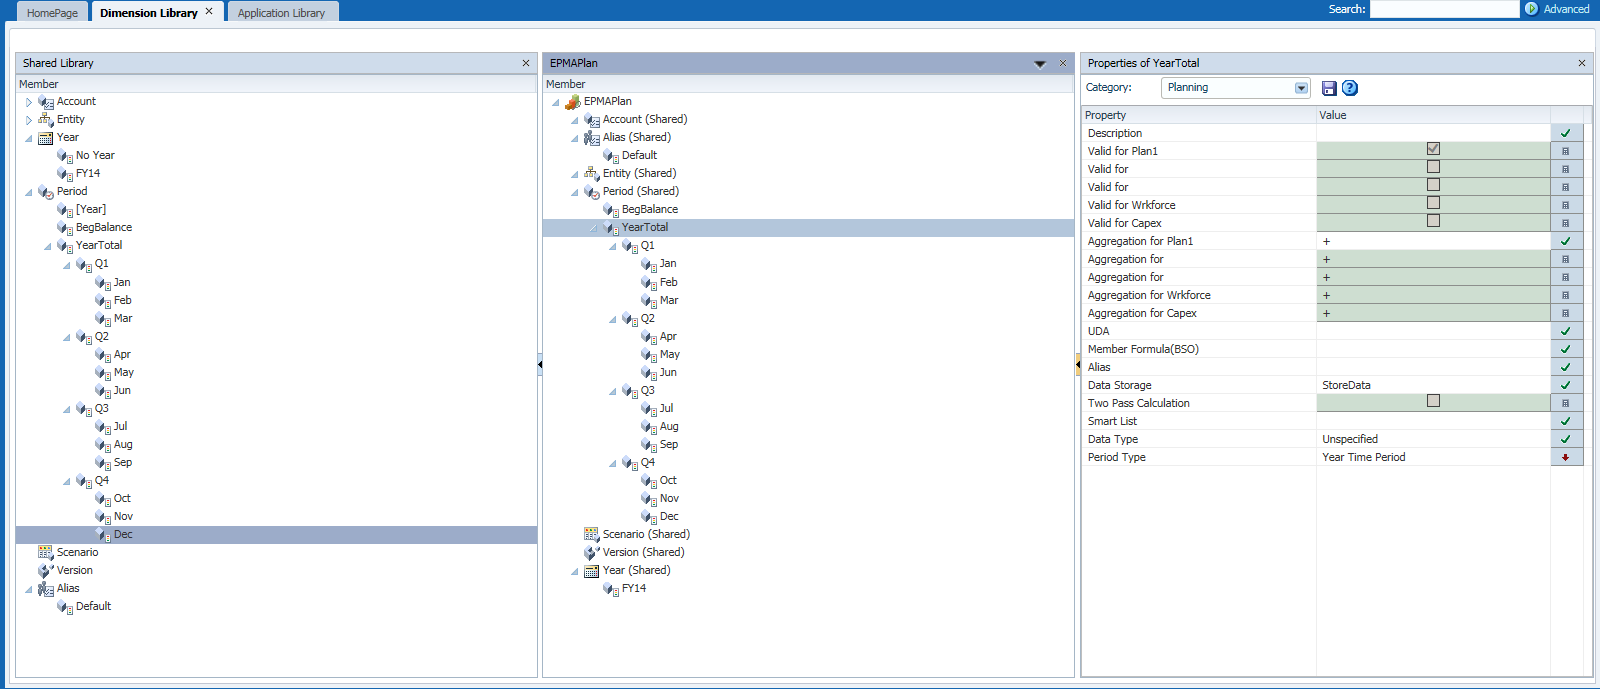
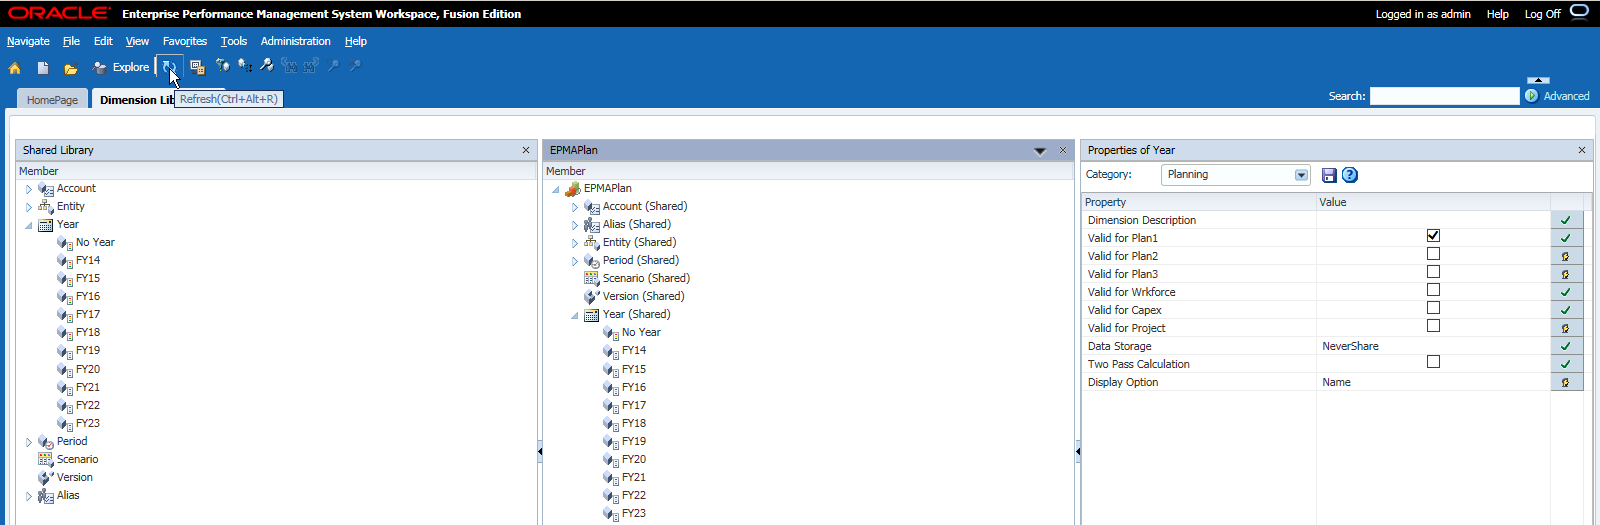
After the settings are done and validate the application again, click Finish to continue. Then you can find the view below, the shared library view, the application view, and the properties window.
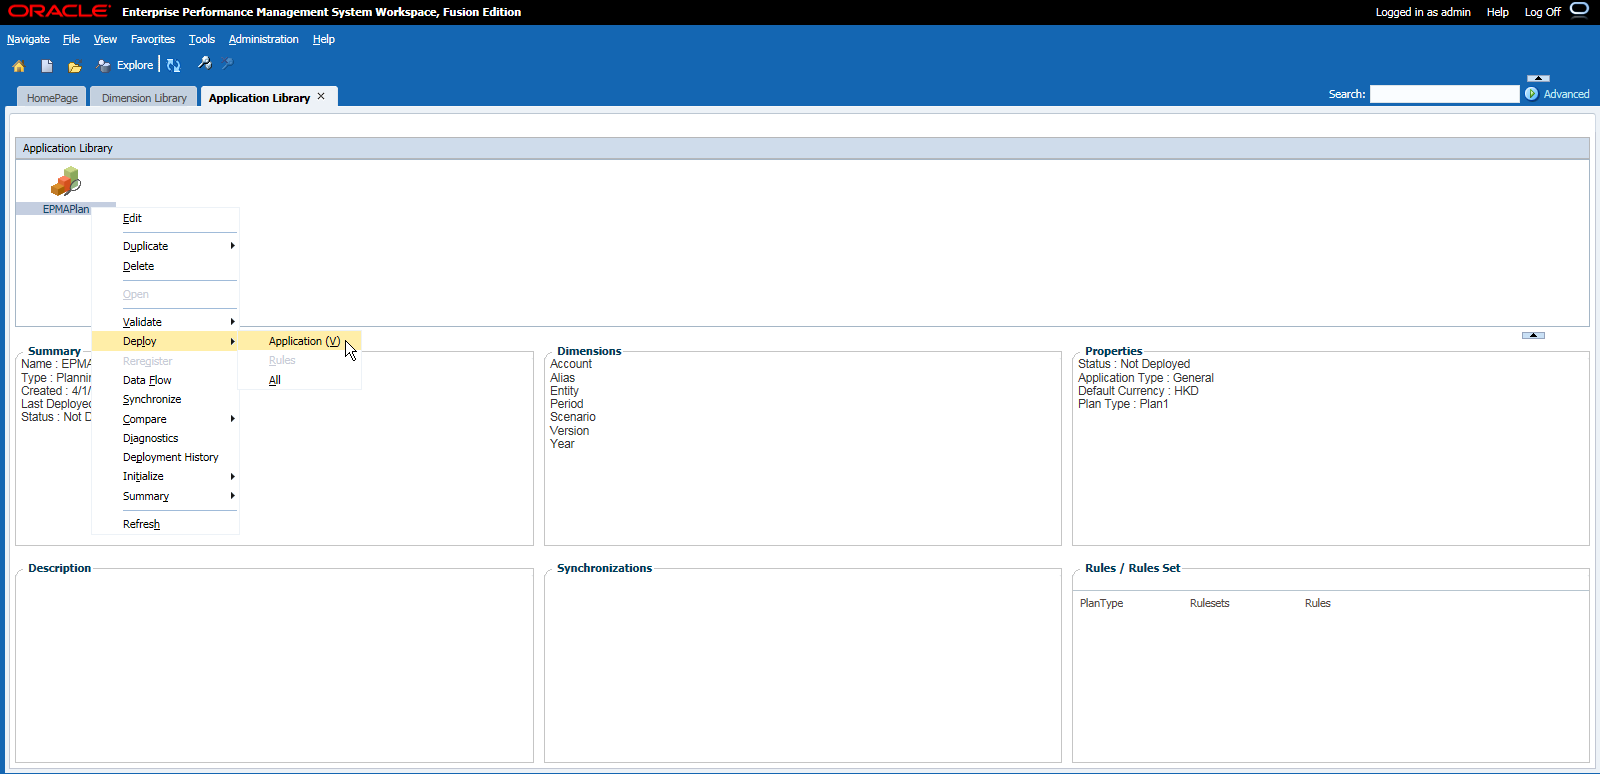
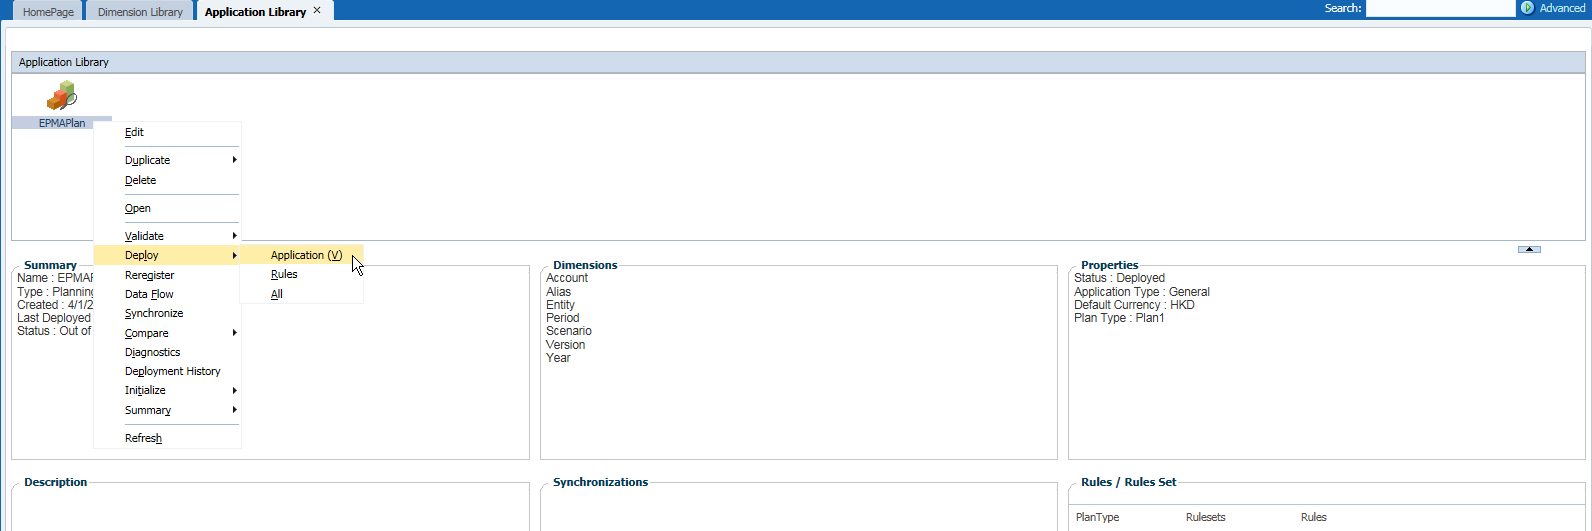
Then switch to the application library, you can find the new created application here. But this is only the application in EPMA, you need to deploy it to Hyperion Planning. Right click the application > Deploy > Application.
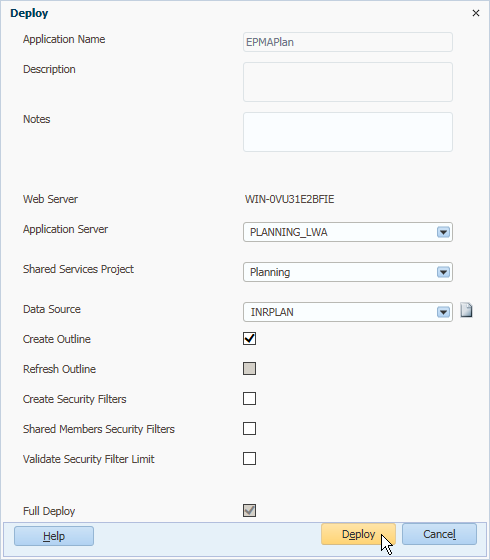
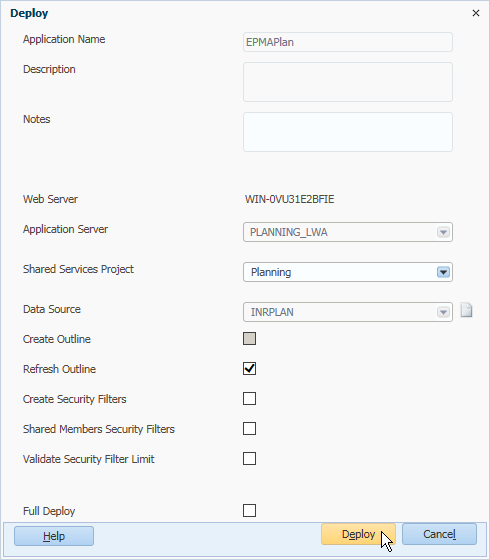
Select the Shared Services Project and the Data Source of this application, for it is the first time you deploy, you can only select "Create Outline" in Essbase. Click Deploy to continue.
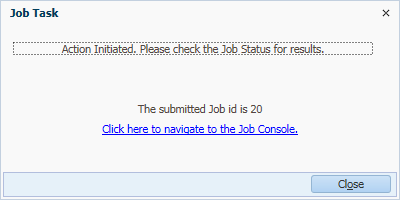
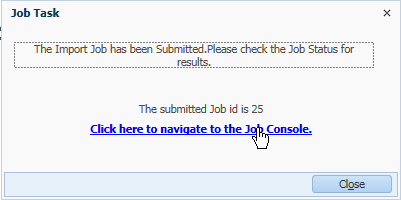
The job task window pops up, click the link to see the job status.
You can refresh the status until it is completed.
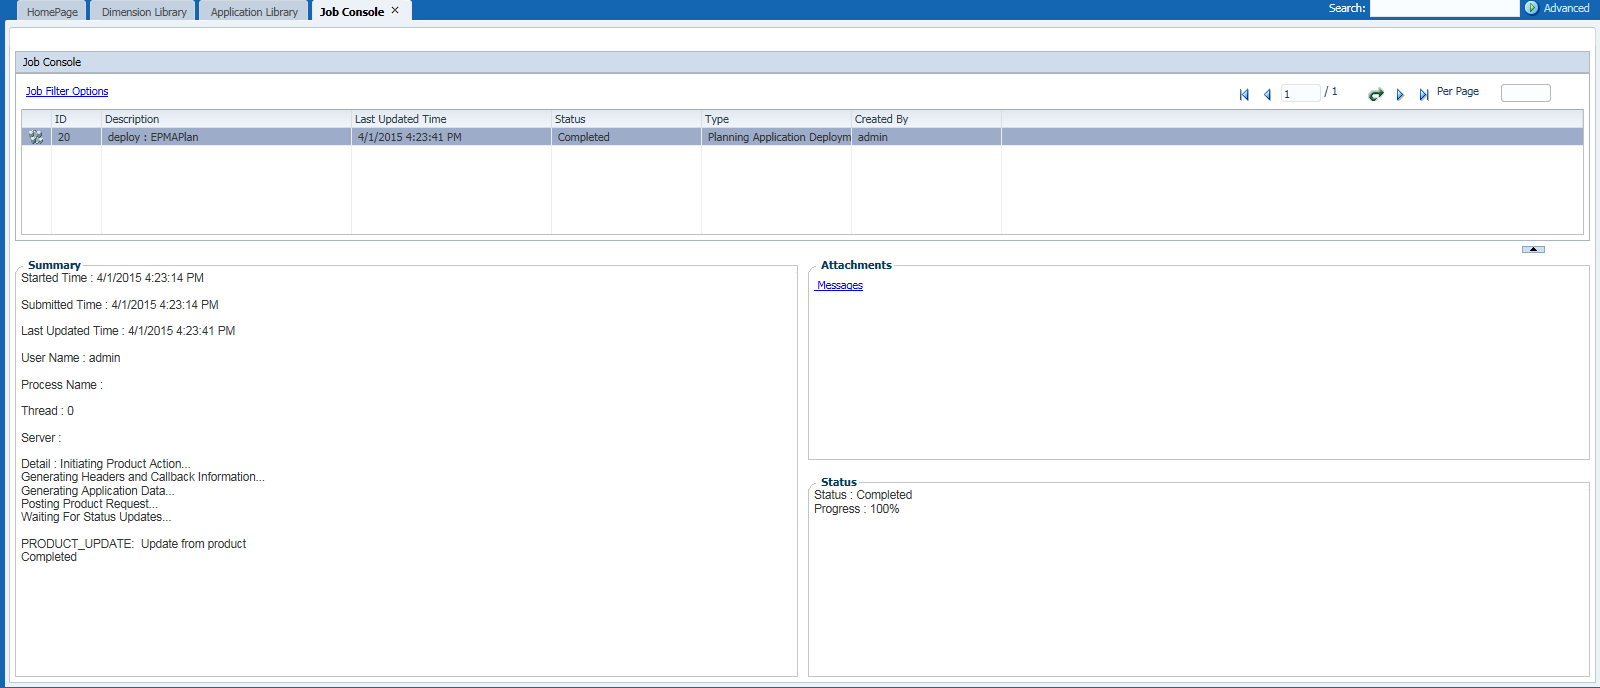
Then you can find the application created in Hyperion Planning. (You may need to click Refresh to refresh the application list.)
Open the Planning application, you can find the dimensions and members cannot be edited in the EPMA created application.

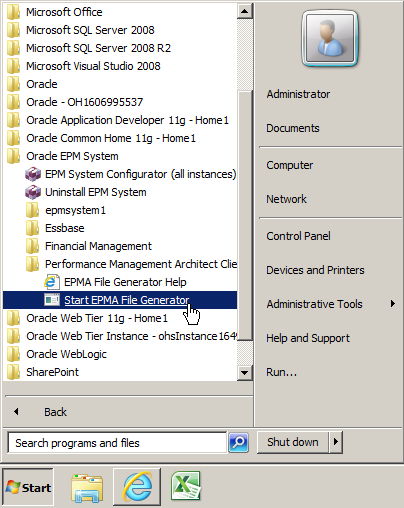
Then let's have a look how to load multiple members in a batch to EPMA dimensions. You can install an EPMA client first, and then you can find this in your start menu. Open EPMA File Generator.
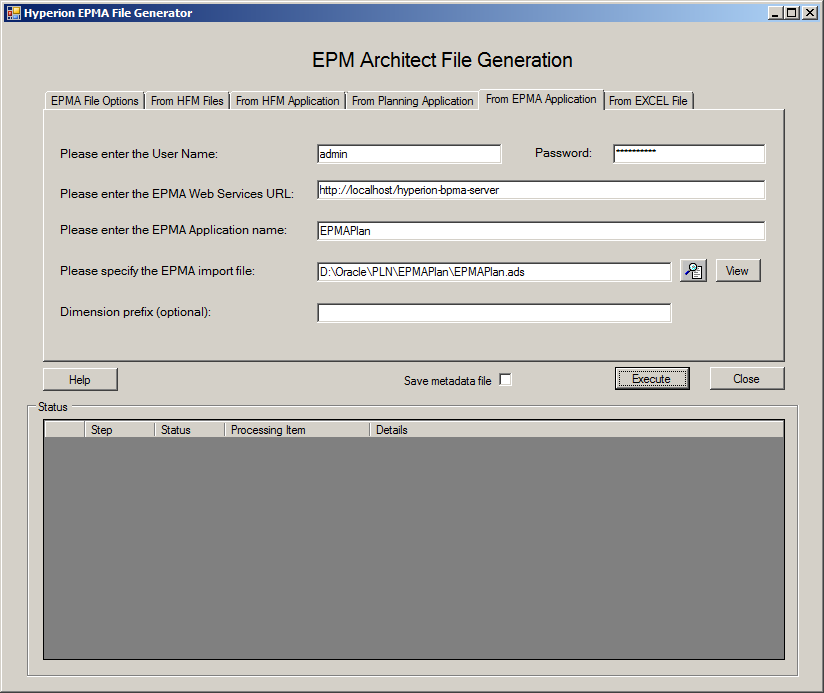
This is a client which can let you export the existing EPMA application metadata to a local text file. Switch to "From EPMA Application" tab, input User Name and Password, the EPMA Application Name, and select the local path that you want to extract the metadata file. You can uncheck the "Save metadata file" option for it will generate another xml file which is no use at this time. Click Execute to continue.
Then you can find the status as below, which means the execution is successful.
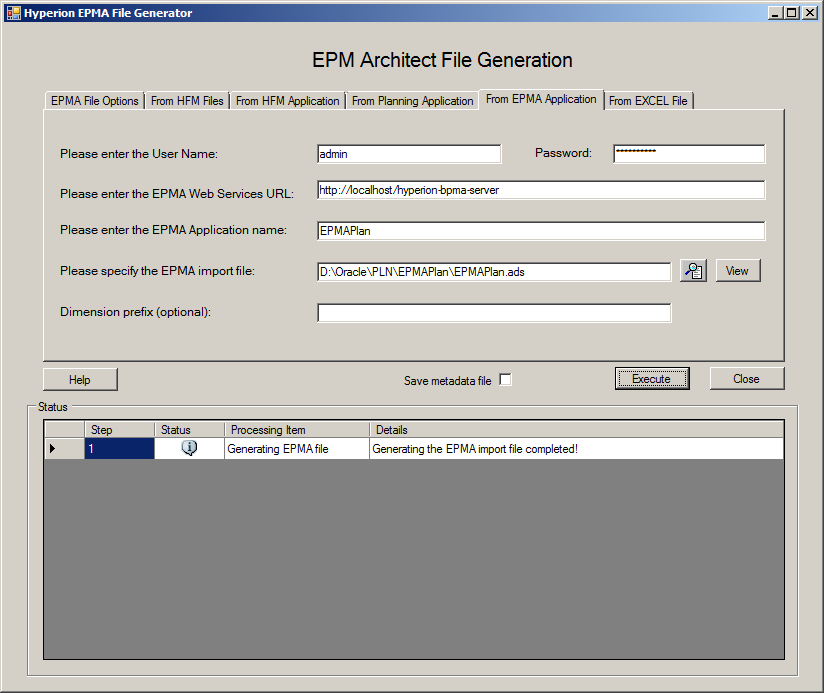
You can find the file was generated in the path you set before.
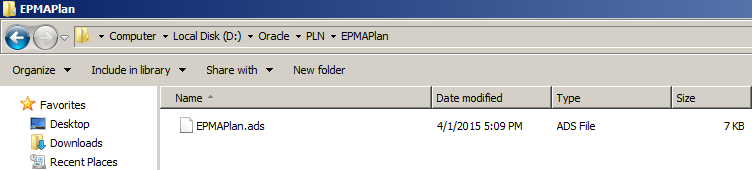
Open the file in a text editor, you can find the application's metadata setting as below.
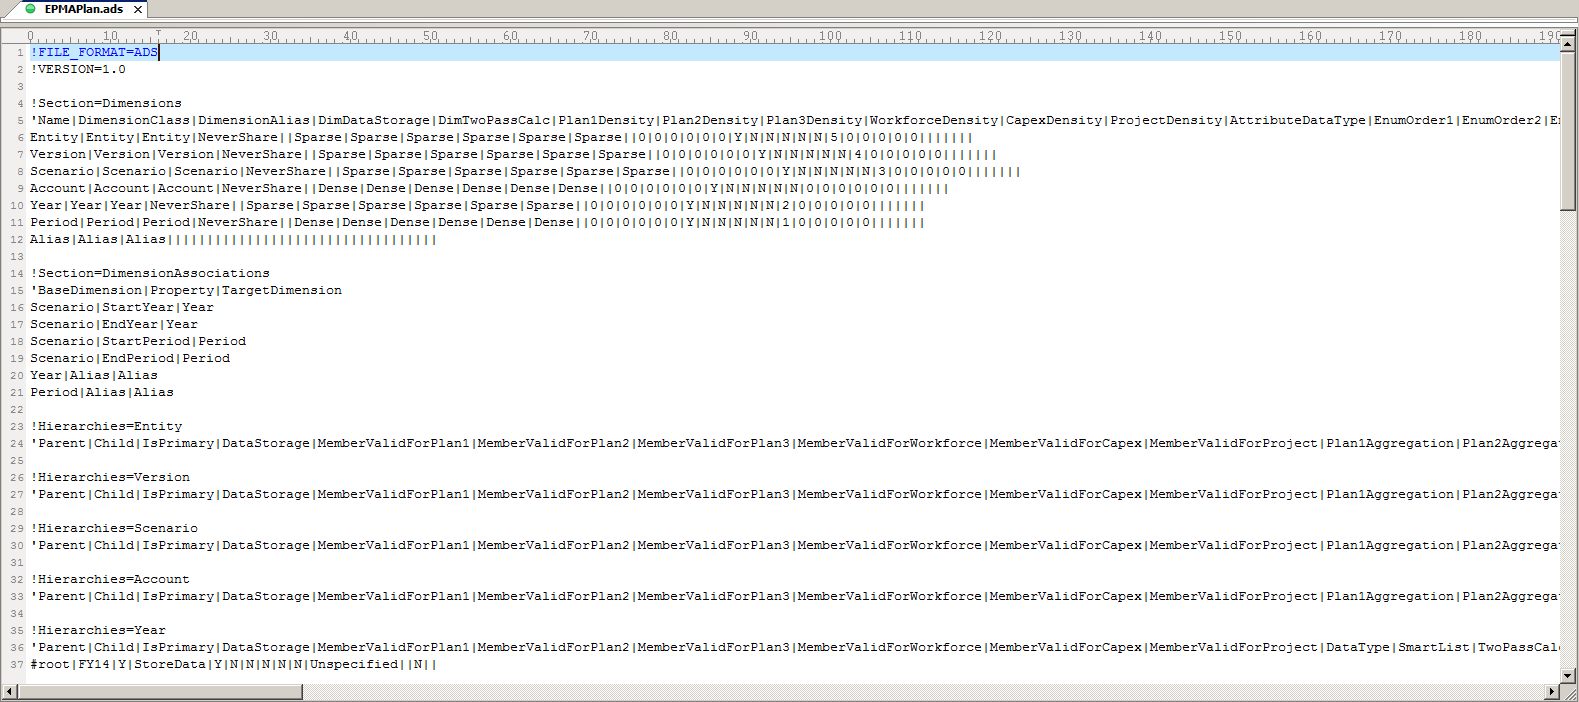
You can try to add members under the dimensions, and then save the file.
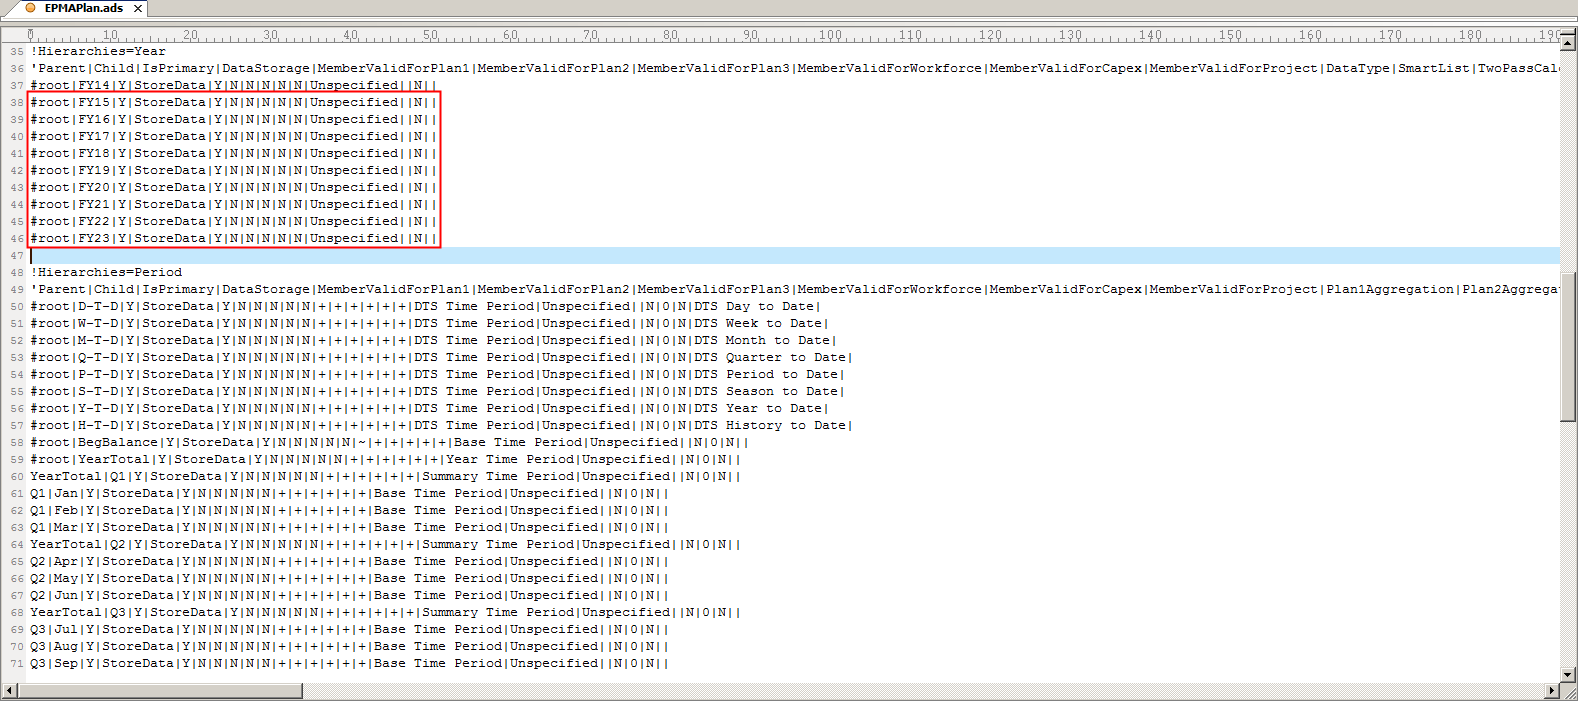
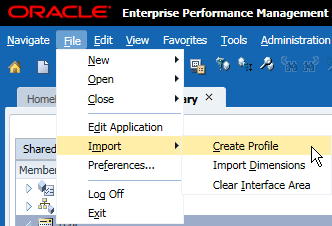
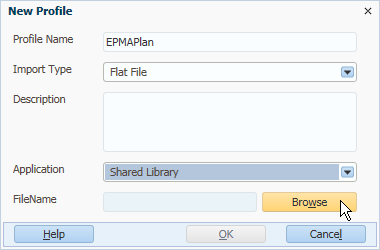
Then return to the dimension library in workspace, File > Import > Create Profile.
.png)
Input the Profile Name and then click Browse to select the file.
.png)
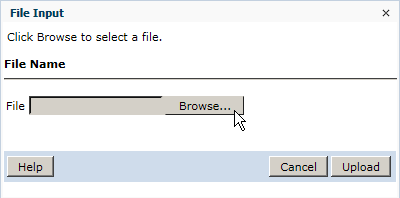
Click Browse to select the file.
.png)
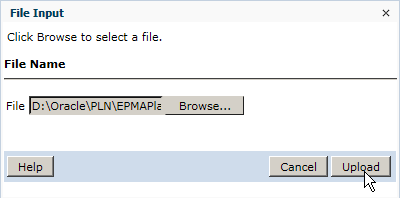
Select the ads file we saved before, click Upload to continue.
.png)
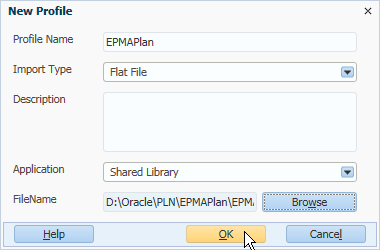
Click OK to continue.
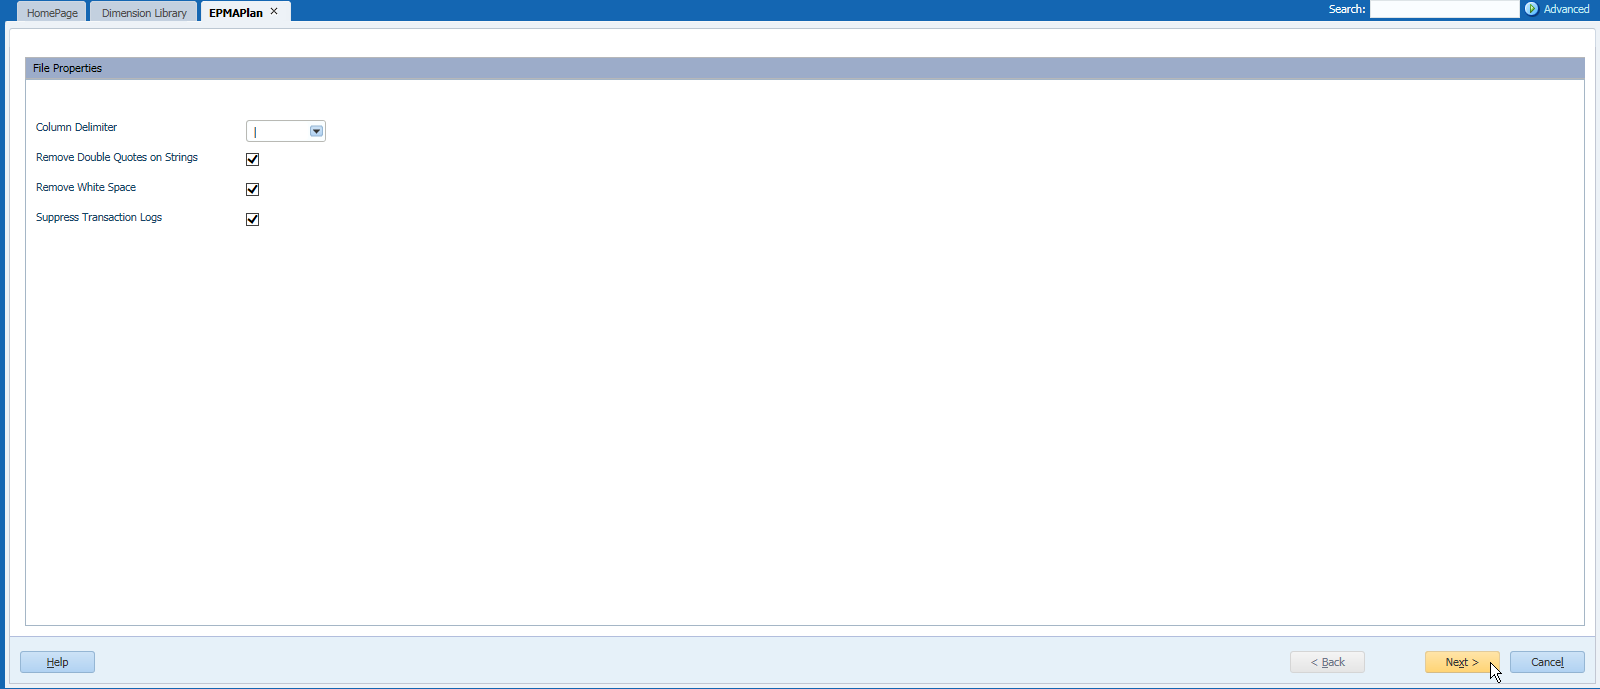
Select the Column Delimiter to "|", which is consistent with the ads file, then click Next.
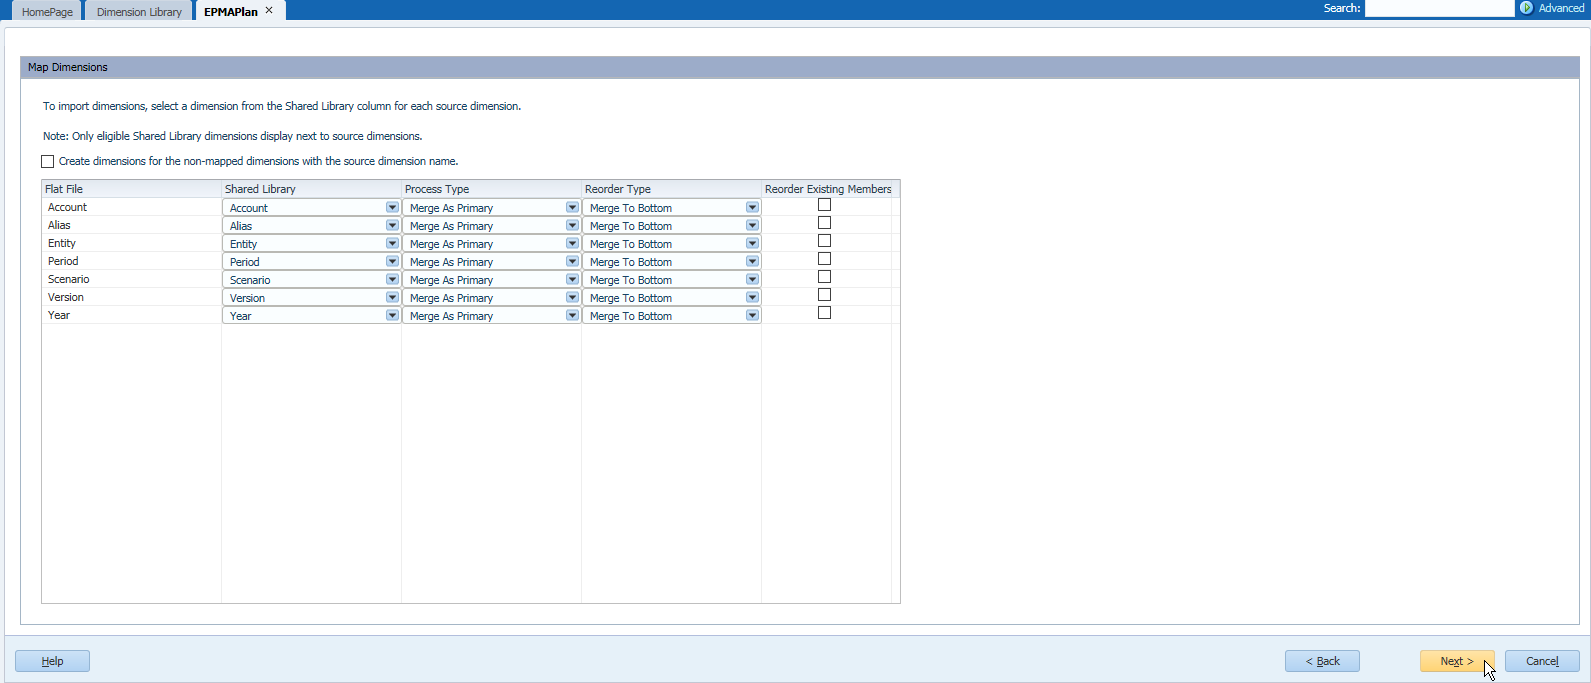
Keep the settings as below, click Next to continue.
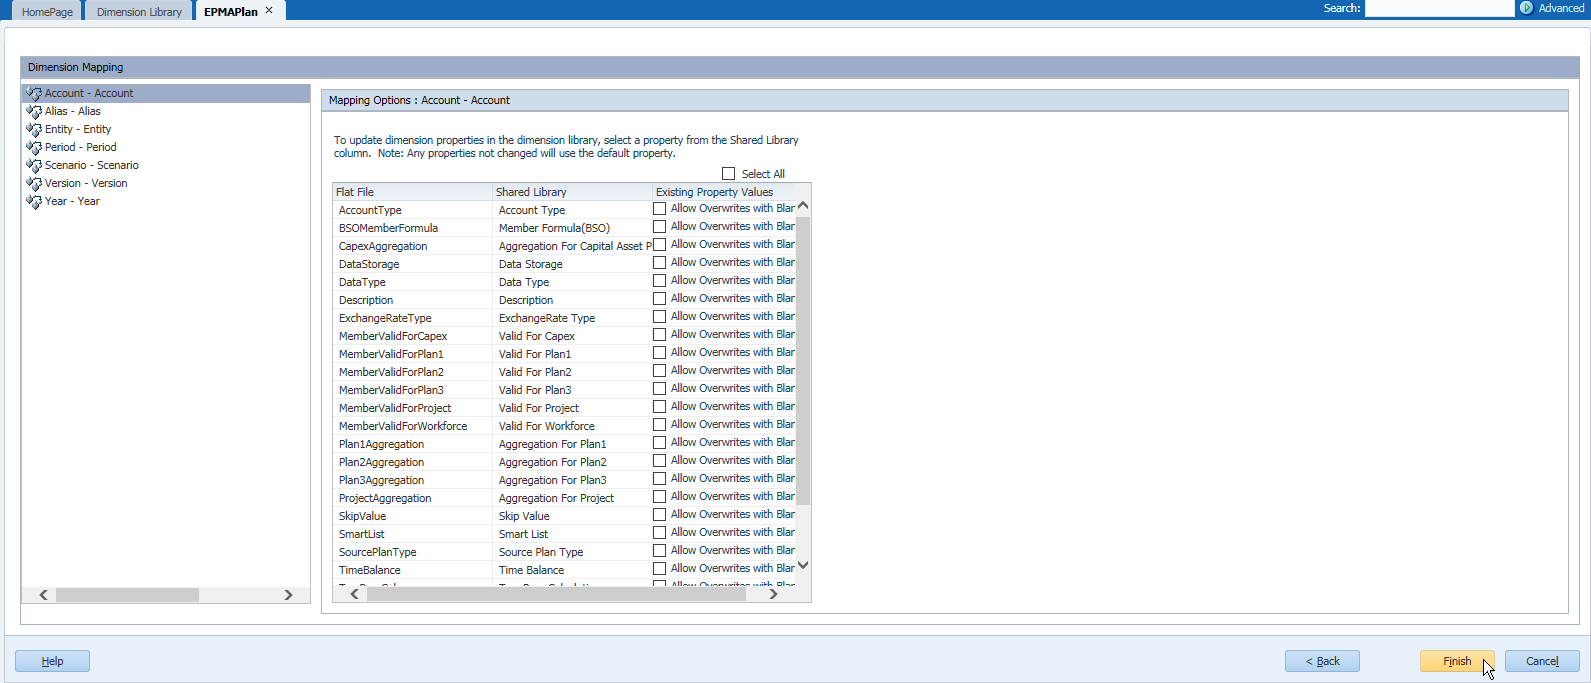
Click Finish to save the profile.
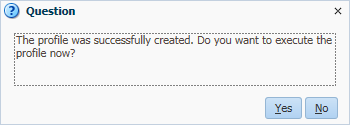
The profile was successfully created, click No and we can execute it later.
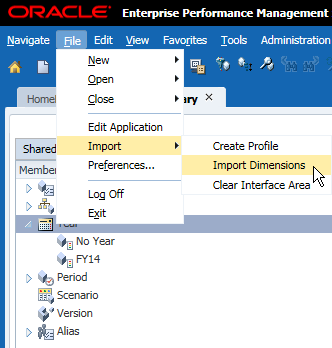
Then we can import the dimension with the created profile now. File > Import > Import Dimensions.
Select the profile we created before, click Browse to select the file to import.
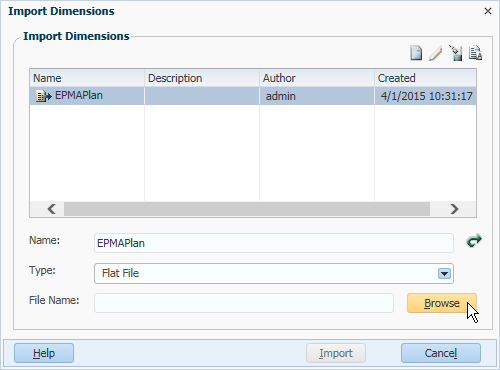
Click Browse to select the file.

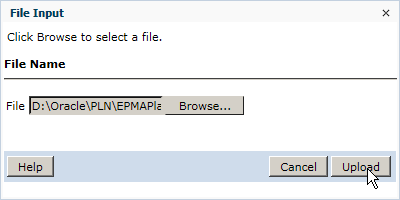
Select the ads file we saved before, click Upload to continue.
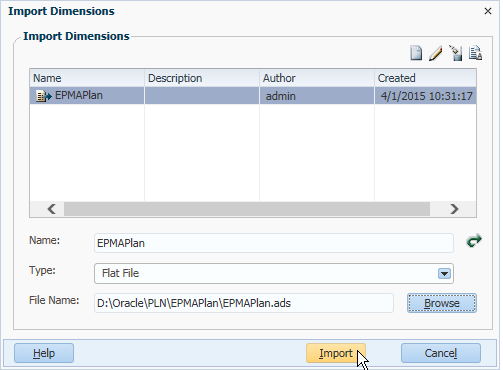
Click Import to import the dimensions.
Click the link to see the job status.
Once the status is completed, you can return to the dimension library and find the members are added successfully in both the shared library and the application view.
Go to the application library, deploy the application again.
At this time, you can select Refresh Outline to Essbase.
You can find the new added members are deployed to Hyperion Planning successfully now.
Good Explanation.Thaks
ReplyDeleteWhat is the purpose of Full Deploy ? When shal we select it please ?
ReplyDelete